
 Wall Decor
 Textiles & Rugs
 Flowers & Plants
 Candles & Candle Holders
 Furniture
 Home Accessories
 Window Treatments
DIY Wall Clock Assembly And Installation | Step By Step
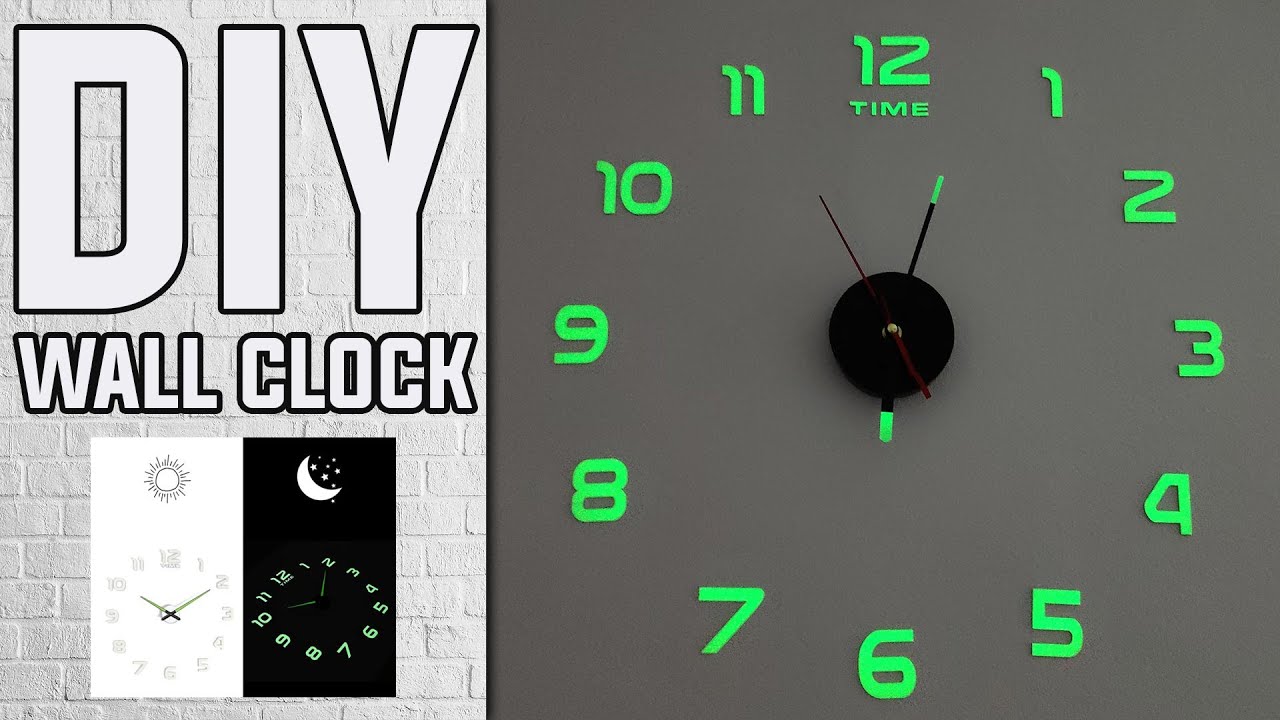
DIY Wall Clock Assembly and Installation | Step by Step
Creating your own wall clock is a rewarding project that adds a personal touch to your home decor. In this guide, we will provide a comprehensive step-by-step process for assembling and installing a DIY wall clock, ensuring that your final piece not only looks great but also functions well.
Materials Needed
Before starting, gather the following materials:
- Clock mechanism kit (including clock movement and hands)
- Clock face (wood, MDF, or any sturdy material)
- Numbers or markers (you can use stickers, paint, or wooden numbers)
- Drill with a drill bit (appropriate for your clock face material)
- Ruler or measuring tape
- Pencil
- Level
- Hanging hardware (hook or bracket)
- Optional: decorative elements (paint, varnish, or embellishments)
Step 1: Design Your Clock Face
Start by planning the design of your clock face. You can choose a simple minimalist style or something more eclectic.
- Choose Your Clock Face Material: Consider using wood or MDF for durability.
- Decide on Colors and Patterns: You may paint your clock face or leave it natural for a rustic look.
Step 2: Mark the Center Point
- Find the Center: Measure the width and height of your clock face, then mark the center point with a pencil.
- Drill a Hole: Use your drill to make a hole at the center mark; this is where the clock movement will be inserted.
Step 3: Prepare the Clock Movement
- Assemble the Clock Mechanism: Follow the instructions included with your clock mechanism kit.
- Insert the Mechanism: Push the threaded shaft through the hole you drilled in the clock face, securing it with the provided nut.
Step 4: Attach the Clock Hands
- Position the Hour Hand: Align it on top of the movement at the correct angle.
- Add the Minute Hand: Install the minute hand next, ensuring it is also securely fitted.
- Install the Second Hand: If included, add the second hand gently, making sure it doesn’t touch the other hands.
Step 5: Attach Numbers or Markers
- Plan the Layout: Decide where to place the numbers or markers around the clock. Typically, numbers 1-12 are used, but you can get creative with designs.
- Fix the Numbers: Use adhesive or paint to attach the numbers securely. Ensure they are evenly spaced for a balanced appearance.
Step 6: Finish Your Clock Face
- Add Decorative Elements: If desired, add paint, varnish, or other embellishments to personalize your clock.
- Let It Dry: Ensure all adhesives and paints are dried completely before proceeding.
Step 7: Hang Your Clock
- Choose the Right Location: Select a wall that is free from direct sunlight and moisture.
- Use a Level: Before hanging, use a level to ensure your clock will hang straight.
- Attach the Hanging Hardware: Install your hanger securely to avoid any damage or falling.
Step 8: Set the Time
Once your clock is securely hung, set the time. Most mechanisms have a simple mechanism for adjusting the clock hands.
Conclusion
Congratulations! You have successfully assembled and installed your DIY wall clock. This project not only enhances your living space but also reflects your creativity. Don’t hesitate to experiment with different designs in future projects. Happy crafting!
By following this easy step-by-step guide, your DIY wall clock will be a beautiful and functional addition to your home. Enjoy the satisfaction of seeing your creation on display!


Vai ate kotai pabo
why doesnt look like seen it at night? <!
Esa máquina debe ser cara pero la mejor
It looks like New Order Substance cover
mine keeps falling off the wall
Brother is the radian still glowing??
Iska price boliye sir ye kanha milega
Number one is defect, no light
I love analog clocks. You just gave me one hell of an idea 🤔
Dlaczego wszystkie te zegary nie mają sekundnika?
😊😊😊😊😊😊😊😊
😊😊😅😅😅😅😅😅😅😅😅
আলো হয়না তো আমারটায়
Link pizz 😅
via amr 1 ta lagbe 😊
is it silent?
I need one please. How much
LIKE 👍🏿👍🏾👍🏽👍🏼👍🏻👍🏼👍🏽👍🏾👍🏿 ❤❤❤😻😻😻😻